![]() ![]() |
Removing
(
Refitting
)
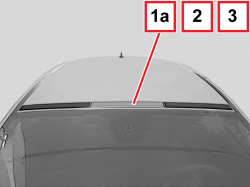
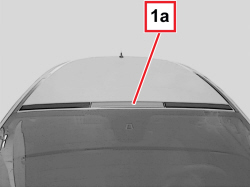
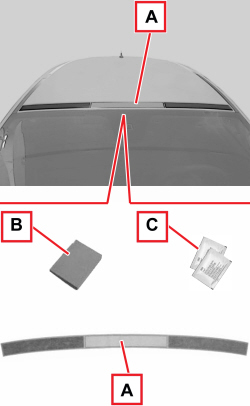
- The vehicle bodywork must be previously cleaned. 1. The side adhesive strip kit for the roof is composed of the following parts: A: adhesive strip B: buffer for sticking the adhesive strip C: cloths to clean the bodywork area concerned with the adhesion procedure (dipped in suitable 3M product)
|
![]() ![]() |
Refitting
(
Removing
)
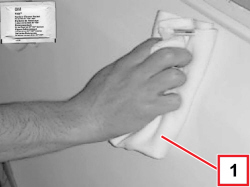
1. Clean the bodywork area where the adhesive strip is to be fitted with the cloth included in the kit. If the cloth is not included in the kit, clean the concerned bodywork area as follows. - Thoroughly clean and degrease, with denatured ethyl alcohol or isopropyl alcohol, the bodywork area where the adhesive strip is to be applied. - Wash the area with water then dry it. - Clean the area using heptane.
|
![]() ![]() |
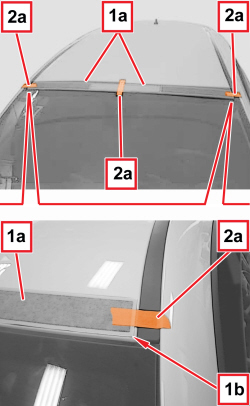
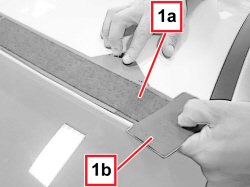
1. Stick the part of the adhesive strip (1a) to the roof, taking care not to create bubbles or folds (keep the adhesive strip slightly taut). With the supplied buffer (1b), stick the adhesive strip working gently in the middle. |
![]() ![]() |
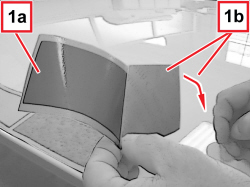
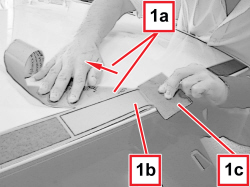
1. Continue to remove progressively the lower protective film (1a) and progressively stick the adhesive strip (1b) with the help of the buffer (1c). |
![]() ![]() |
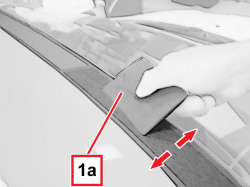
- With the help of the provided buffer (1a), stick the adhesive strip completely, carefully and gently, working from the middle towards the back and then from the middle towards the front, as shown by the arrows (in order to dispel the air and prevent bubbles from forming). Progressively work all the adhesive strip long. Exert a higher pressure on the adhesive strip perimeter. |
![]() ![]() |
1. Progressively and gently remove the upper protecting film (1a) of the adhesive strip (1b).
|
![]() ![]() |
1. Check the correct adhesion of the adhesive strip (1a) for its whole length; make sure there are no air bubbles and remove them, if required, acting cautiously and gently with the supplied brush. |
|
|