![]() ![]() |
Removing
(
Refitting
)
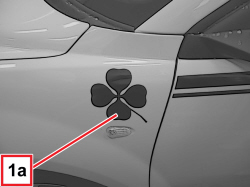
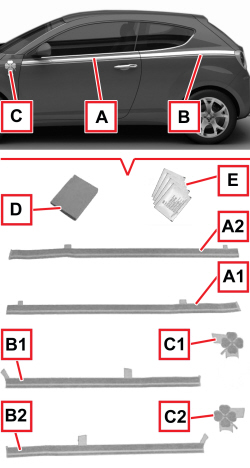
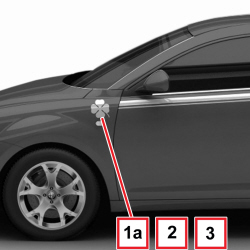
- The vehicle bodywork must be previously cleaned. 1. The side adhesive strip kit is composed of the following parts: A: right (A1) and left (A2) adhesive strips for front doors B: right (B1) and left (B2) adhesive strips for rear wings C: right (C1) and left (C2) four-leaf clover for front wings D: buffer for adhesive strip sticking E: cloths to clean the bodywork area concerned with the adhesion procedure (dipped in suitable 3M product). 2. This procedure describes the removing-refitting of the four-leaf clover (C) on the front wing. - For the removing/refitting of the adhesive strip (A), see the relevant procedure. Op. 7055C02 ADHESIVE STRIP ON FRONT SIDE DOOR (ONE), LH OR RH - R.R. |
![]() |
- For the removing/refitting of the adhesive strip (B), see the relevant procedure. Op. 7055C01 ADHESIVE STRIP ON REAR WING (ONE), LH OR RH - R.R. |
![]() |
|
![]() ![]() |
Refitting
(
Removing
)
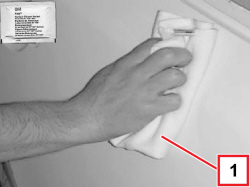
1. Clean the area of the bodywork involved in the sticking of the four-leaf clover using the cloth included in the kit. If the cloth is not included in the kit, clean the concerned bodywork area as follows. - Thoroughly clean and degrease, with denatured ethyl alcohol or isopropyl alcohol, the bodywork area where the adhesive strip is to be applied. - Wash the area with water then dry it. - Clean the area using heptane.
|
![]() ![]() |
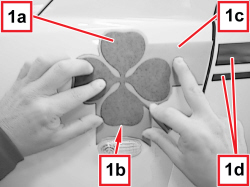
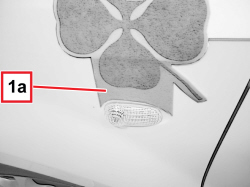
1. Position the four-leaf clover (1a) with the lower edge (1b) aligned with the housing for the side repeater and with the edge (1c) aligned with the strips (1d) on the door. |
![]() ![]() |
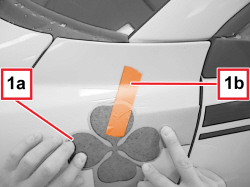
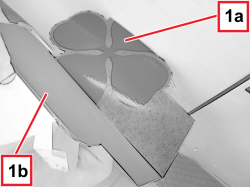
1. Place the four-leaf clover (1a) in the correct position keeping it in place with adhesive bodywork tape (1b). |
![]() ![]() |
1. Stick the part of the four-leaf clover (1a) to the wing, taking care not to create bubbles or folds (keep the four-leaf clover slightly taut). With the help of the buffer provided, stick the four-leaf clover working gently in the middle. |
![]() ![]() |
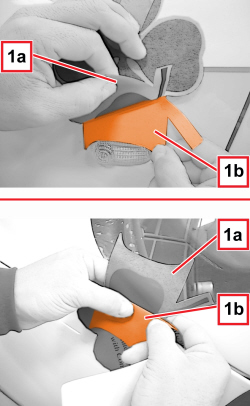
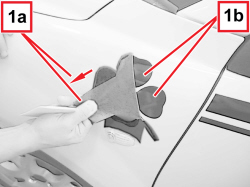
1. Lift up the other part (1a) of the four-leaf clover and remove the lower protective film (1b). |
![]() ![]() |
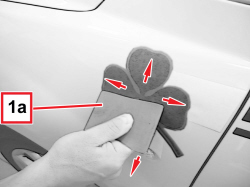
1. With the help of the buffer (1a) provided, stick the four-leaf clover completely, carefully and gently, working from the middle towards the outside, as shown by the arrows (in order to dispel the air and prevent bubbles from forming). Exert a higher pressure on the four-leaf clover perimeter. |
![]() ![]() |
1. Progressively Remove the upper protective film (1a) for the four-leaf clover (1b) working carefully.
|
![]() ![]() |
1. Check that the four-leaf clover (1a) sticks correctly; check that there are no air bubbles and remove them, if necessary, acting cautiously and gently with the supplied brush. |
|
|